How To Build A Pool Table (DIY Pool Table Guide for Players)
Key Takeaways
- The basics of a DIY pool table
- Step-by-step pool table construction
What Is A DIY Pool Table?
You’ve probably heard and seen the acronym “DIY,” which stands for “do it yourself.” DIY simply implies that rather than employing a professional to complete a task or purchasing things from a store, you choose to complete that activity or manufacture those products without the assistance of an expert.
Therefore, a DIY pool table means gathering all the pool table blueprints and make a complete pool table by yourself.
How to make a DIY pool table?
To begin, you will have to make general pool table DIY plans with all details and follow them. Here below are all the steps that everyone needs to go through:
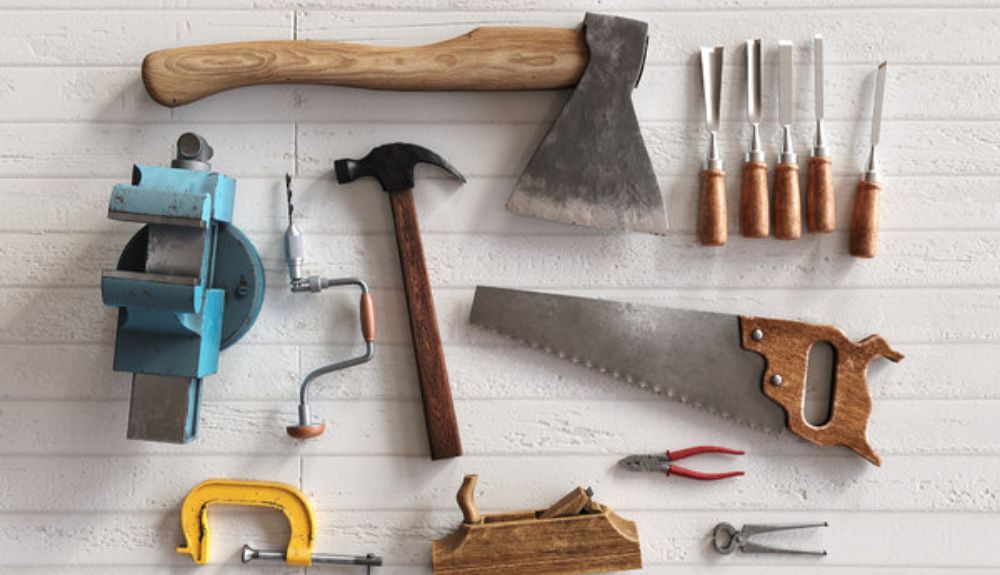
Preparing Materials and Tools
A pool table is constructed from different parts including rail cushions, pockets, playfield, cloth, slate, legs, blinds, cabinet, and top rails. So you have to prepare all the needed pool table materials for these components. Especially, the slate can be changed to an MDF pool table surface depending on the budget and space you have. The slate is more expensive and much heavier than the MDF surface. This MDF material will be considerably easier to work with than slate. But it will need to be replaced every few years, especially if the table is in a humid environment.
Besides, you will need other tools when building a pool table, just the same as a carpenter. Here is the list of tools that a carpenter always needs: Table saw, sander, level, drill, staple gun, and a tape measure,…
Make A Design For The Pool Table
The next step in the process of how to build your own pool table is making the pool table plan or design.
Determine pool table size
You can choose from different pool table dimensions, such as a 6-foot, 7-foot, 8-foot, or 9-foot pool table. However, if you are making a DIY pool table for your house, it is recommended that you choose an 8-foot pool table. This 8 size means 8’long by 4’ wide with a 92’’ by 46’’ playing area. The ratio between the length and width should be maintained at 2:1.
Determine room size
The room size should be at least 7 feet longer and 7 feet wider than the table. That is, each of the four sides must have at least 3.5′ of space.
The table should be between 29′′ and 31′′ tall from the ground to the actual playing surface and appropriate for your room size.
Construct Table Legs
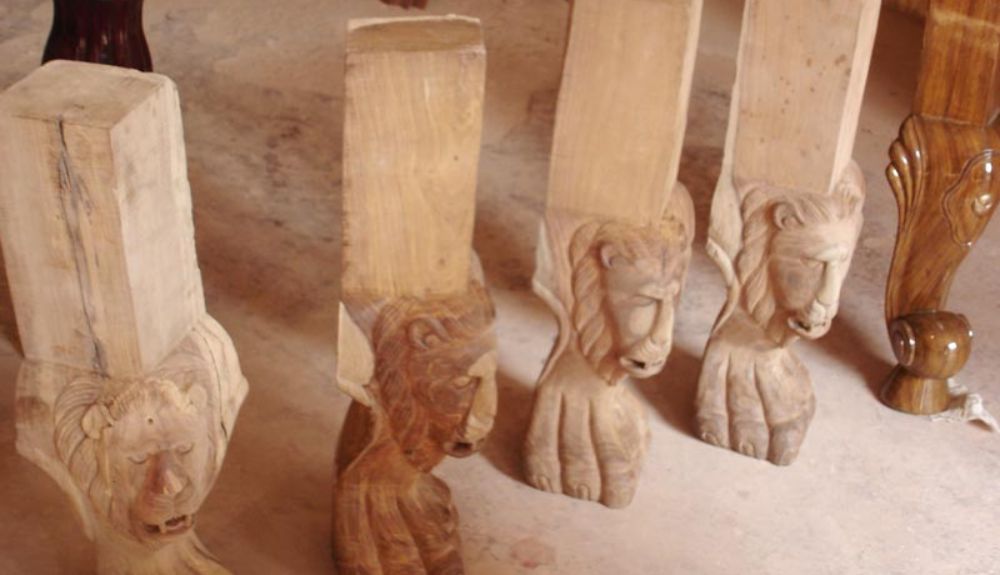
Depending on your table size, skill level, and surface, you have three alternatives:
- Make your legs from huge maple or other hardwood pieces. The leg must be parallel to the lumber’s grain.
- Make legs from a variety of smaller wood pieces. Make an L-shaped frame out of lumber boards (2 by 10s, for example) and then glue extra timber to the interior to make up the bulk of the leg.
- Purchase legs outside.
Remember that your legs must be sturdy since they will serve as the foundation for a flat table. If even one is incorrect, the playing field will be uneven.
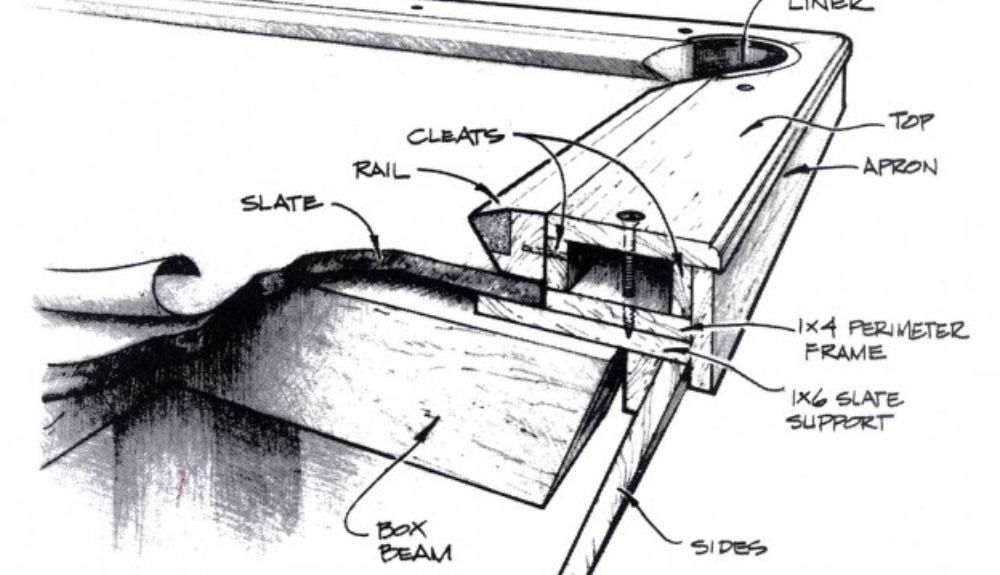
Create The Frame

So, how is a pool table made?
Start by attaching your legs to a frame that will support your surface (with another subframe in between, if this makes things easier).
This frame should resemble a series of boxes, each meant to offer even support for your surface material.
The most significant aspect of this frame (or sub-frame) is that it will cover the locations where your surface screw holes will be. You might also want to use heavier wood if you don’t use a sub-frame. Here below are basic steps to construct a frame:
- Put the wood pieces together, cut the wood to the necessary size, and create the dado slots.
- Sand any rough edges and fit your pieces to ensure the perfect fit.
- Once everything is in place, glue your frame parts together and use clamps to keep them in place while the glue cures. If you wish to be able to disassemble the table, you can alternatively use screws and brackets.
Install Legs On The Frame
You can now start putting the legs into the frame. Place each leg beneath the table, fitting it into the corresponding corner, and bolt it in place if your legs have an inner slot for the frame to sit on.
Use the strongest screws you can find for each leg, 3-to 5 should be enough. One should go straight down the leg, with one or two on each side fastening it.
If you use pre-bought or vertical legs, you’ll have to lay the frame on top of the leg itself, which may necessitate a bit of additional bulk in the corners.
Place The Pool Table Surface
If you’re going to use slate, make sure it has an MDF backer so it can sit on top of the sub-frame. Slide the parts into place and secure them with screws, taking care not to split the beams in the process.
Then, make sure the surface is level (preferably with a mechanical leveler). If it isn’t, you’ll need to modify the parts with hardwood shims. This is why having three slate slabs instead of a single large one makes things considerably easier. If you want, you can use melted beeswax to fill the seams between the pieces, but it’s not essential if the slate fits snugly enough as is.
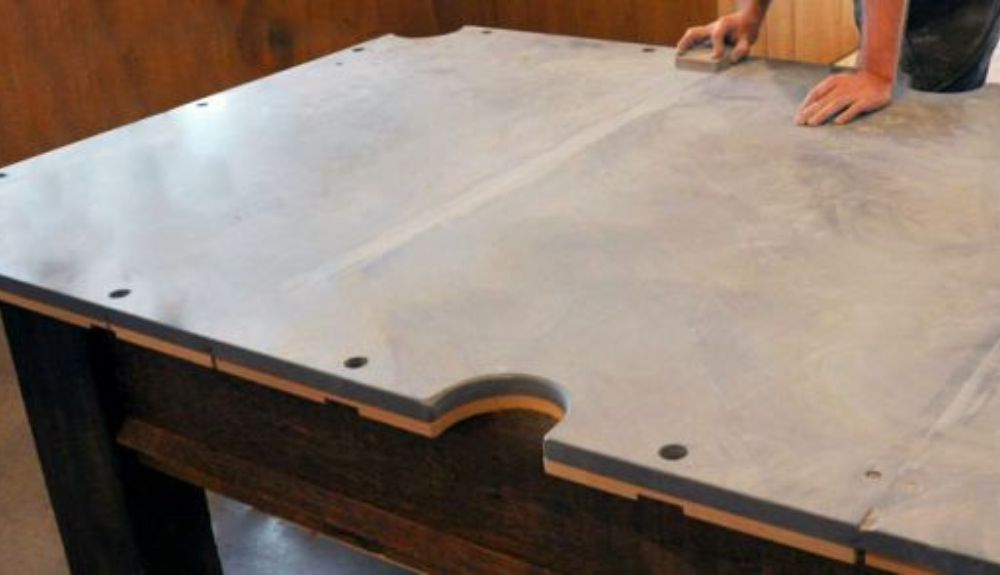
If you’re working with MDF pool table plans or another sort of wood, you’ll have to cut the pockets out yourself – this won’t be done for you. The opening or “mouth” of the pocket, according to WPA guidelines, should be between 4.5′′ and 4.625′′ wide between the corners of each bumper.
Because the holes will not be completely circular, you’ll need to cut them using a jigsaw. Consider the shape of the pockets you’ve chosen, as well as how forgiving you want them to be. You’ll need to mount the MDF to the surface with screws that will sit flush with the surface after you’ve cut the holes. If you ever need to repair the wood (for example, if it warps), screws are far better than glue.
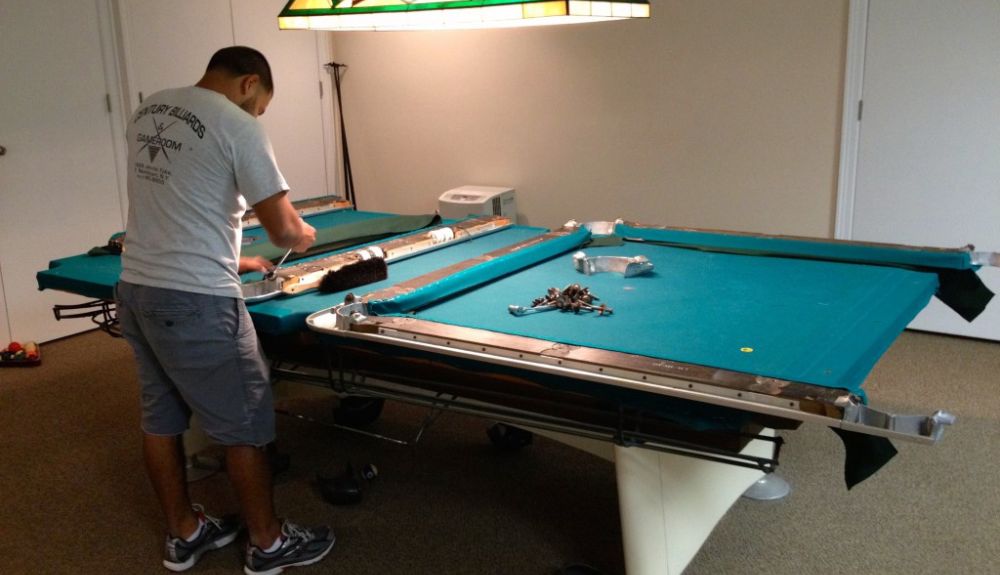
Create The Railings
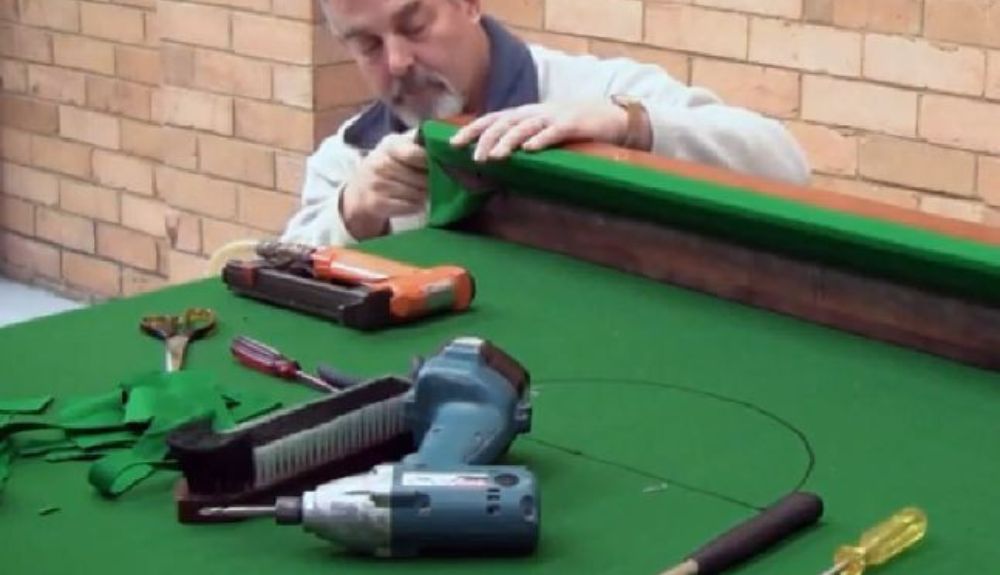
Each rail will be made up of four components.
- The actual rail.
- The feather strip: A piece of wood that sits in a channel on the rail pinches the felt into place. You may either buy one or make your own out of poplar wood. The feather strip is about 2mm narrower than the groove for the felt to fit inside.
- The bumper: A piece of rubber affixed to the rail’s inner section to provide some bounce.
- The blind: A piece of lumber that hangs perpendicular to the floor from the rail’s outer edge to conceal the table’s underside.
Take note of the bolt holes for attaching the railings to your pool table and how to attach the pockets. Attach the bumpers to the felt using super glue or contact cement, making sure they’re at the right angle.
Felt The Pool Table Surface
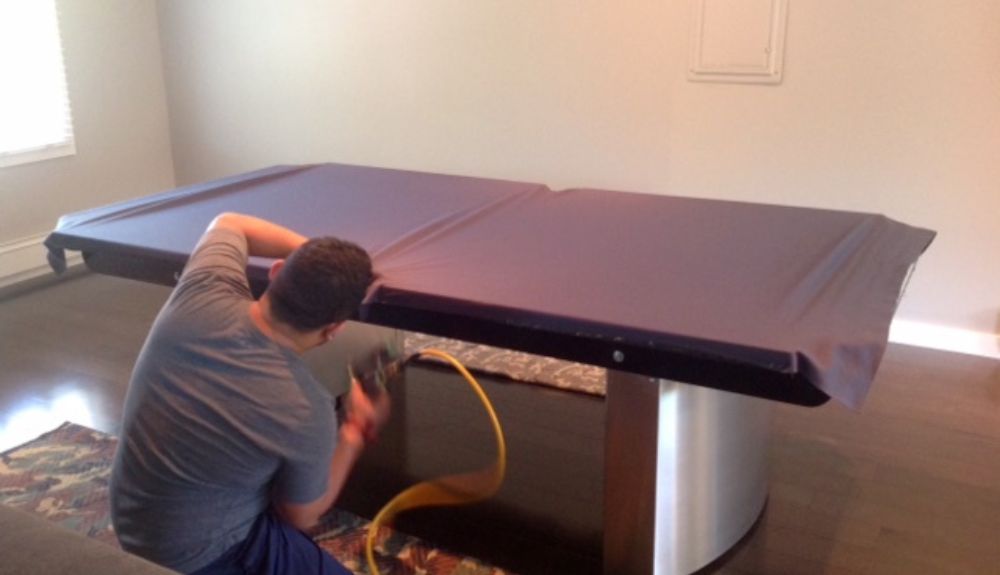
It’s entirely up to you to pick the correct felt color. Instead of the traditional green felt, some pool tables utilize blue or red. You also can choose to glue the pool table felt or staple it to the pool table surface. Believe us, felt a pool table is not a complicated task.
Add The Finishing Touches
Last, but not least, give your pool table the last polish:
- Fix the railings with bolts.
- Install the pockets
- Make a line on the table.

FAQs
How much does it cost to build a pool table?
The cost to build your own pool table can vary depending on the materials you use. If you choose MDF for your pool table, it just costs you around $700 to 1500$ to complete a table. However, if you make a slate pool table, the cost can double from $1800 to $3000. In addition, the pool tablecloth and the type of legs you use also have some impact on the overall cost. Therefore, just make a plan and figure out your budget before starting to build a pool table on your own.
Read also: How much is a pool table
What is the best pool table size to make?
There are four standard pool table sizes available on the market: 7-foot, 8-foot, 8.5-foot, and 9-foot. The most prevalent uses for 7-foot tables are in bars and coin-operated tables. 8-foot tables are prevalent in houses, whereas 8.5-foot tables are uncommon.
Tournaments and billiard rooms use 9-foot tables which is a professional pool table size, So if you are making a pool table in your house, an 8-foot pool table is the best option while a 9-foot pool table is the best choice if you plan to build a public pool table room.
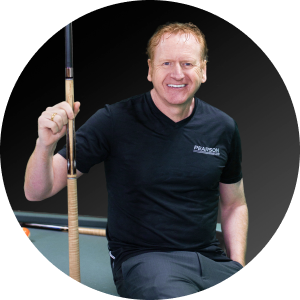
Dave Pearson
Dave Pearson, the world's leading pool entertainer, is renowned globally as the ultimate exhibition player.
Boasting 20 world records endorsed by the prestigious Guinness Book of World Records, Dave established a legendary history in the sport industry.