Pool Table Assembly Guide for Beginners in 6 Steps
Key Takeaways
- Prepare for pool table assembly process by understanding its type, choosing the suitable location, and gathering the necessary assembling tools.
- Assembly of the frame and leg is the first step in successfully setting up a pool table.
- Install the slate carefully based on its pieces, and remember to secure and level it for smooth playing.
- Choose the right felt and apply the felt on the table bed. Ensure it unfolds and aligns to cover with the slate.
- Attach the rails correctly and fasten them, then place the pocket along them to complete assembling the table.
- Adjust and double-check to ensure all pool table parts are perfectly fit and level.
Let’s learn how to assemble a pool table in detail through these step-by-step guides.
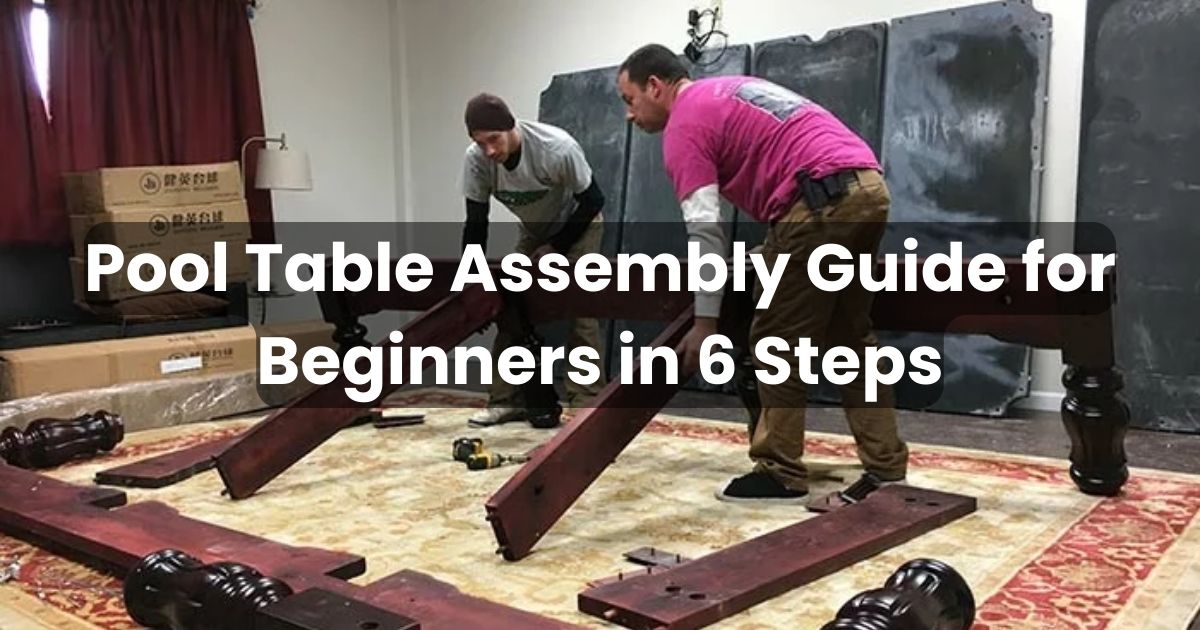
Assembling a pool table
Step 1: Preparation
Pool table assembly is no longer complex if you prepare it carefully.
Understanding Your Pool Table Type
Understanding your pool table type is the first step in deciding on the most protective way of assembling it. For instance,
- A slate pool table is made from heavy slate with a smooth surface. Due to its weight, it is complex to assemble and requires precise leveling.
- An MDF pool table is made from lightweight engineered wood. It is easier to assemble than slate tables, but you should consider their details.
Gathering Necessary Tools
Let’s gather all the necessary tools for the assembling process. The tool includes:
- Wrench
- Screwdriver
- Scissors
- Glue
- Hammer
- Beeswax
- A Level
- Pool table cloth
- Measuring tape
- Paint scraper.
Remember to gather all the parts of your pool table and put them in the room where you’ll assemble it. It’s excellent to call a friend for help.
Preparing the Assembly Area
There are some tips on choosing and preparing a suitable space for your pool table set up below:
- Choose the location: Choose a spacious area with enough room to assemble a pool table and move comfortably during the set-up process.
- Check the floor: Ensure the floor is level to prevent wobbling or uneven assembly.
- Mind the clearance: When assembling a pool table, leave ample space around the table so players can use their cues without bumping into walls or furniture.
- Control the climate: Keep the room comfortable and avoid placing the table in areas prone to temperature fluctuations or high humidity.
- Protect the floor: To prevent damage to the floor surface, consider using a rug or protective flooring under the table.
Step 2: Frame and Legs Pool Table Assembly
How to set up pool table? Following this step as it is the beginning of the assembly process.
Laying Out the Frame Parts
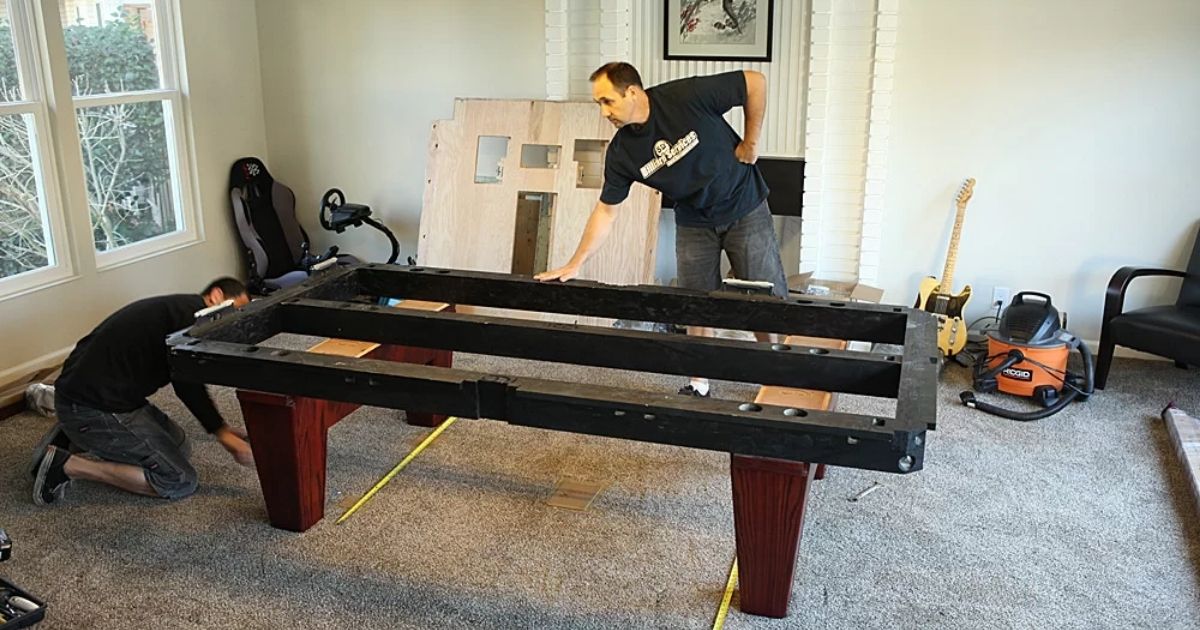
Laying out and assembling the frame of a pool table
Assembling the frame is the first step in putting up your pool table. Mark the table’s location before attaching the legs to the frame. There are a few actions to take:
- Identify each part: Take inventory of all the parts and familiarize yourself with their names and functions.
- Sort and arrange: Group the parts, such as main frame sections, legs, and side rails, based on their role in the assembly process.
- Refer to instructions: Consult the assembly manual or instructions to ensure you’re laying out the parts correctly.
- Double-check: Confirm that all necessary parts are present and accounted for before assembly.
Attaching the Legs
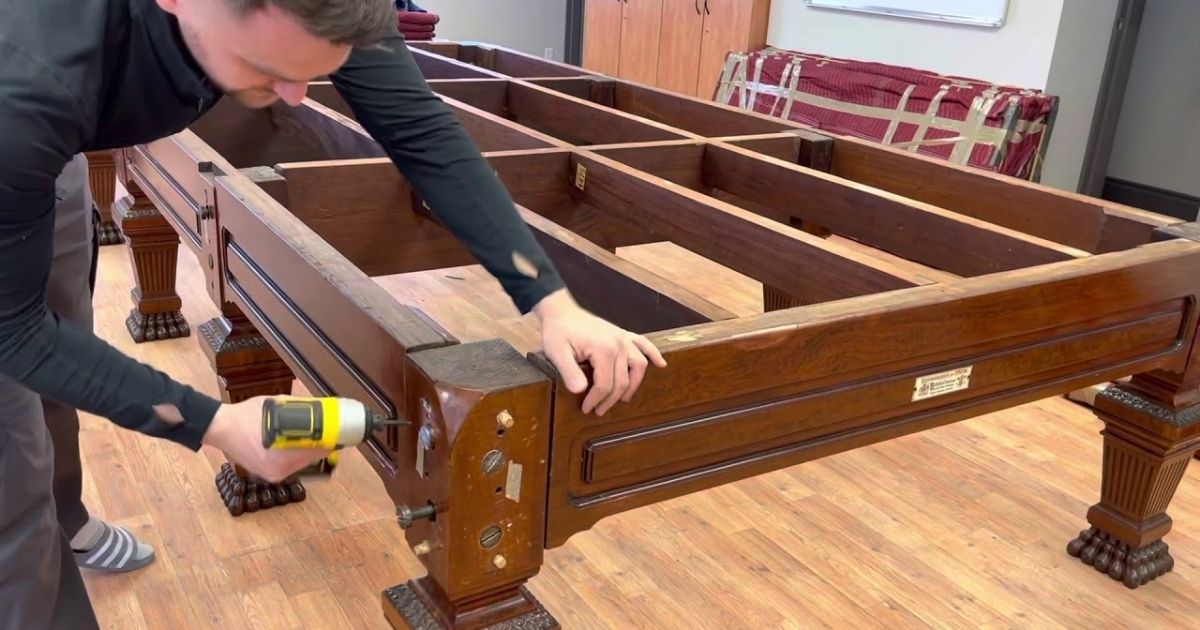
Tighten and attach the pool table legs
After completing the frame, make sure to attach the leg firmly:
- Use a socket wrench to tighten all nuts.
- Ensure the leg support is firmly attached to each table corner.
- Attach each leg one by one.
- Check for any wobbling or movement.
- Once done, flip the cabinet right side up and recheck the table’s position to confirm it’s in the right spot.
Step 3: Slate Installation (If Applicable)
Positioning the Slate
Put the slate on the frame
Let’s place the slate when the legs are back on the frame. This step will depend on the type of slate: one piece or a few pieces.
- If you have multiple slate pieces, start with the center one to maintain balance.
- After placing the slate, use a level to ensure everything is straight.
- Use a drill to screw the slate back into place.
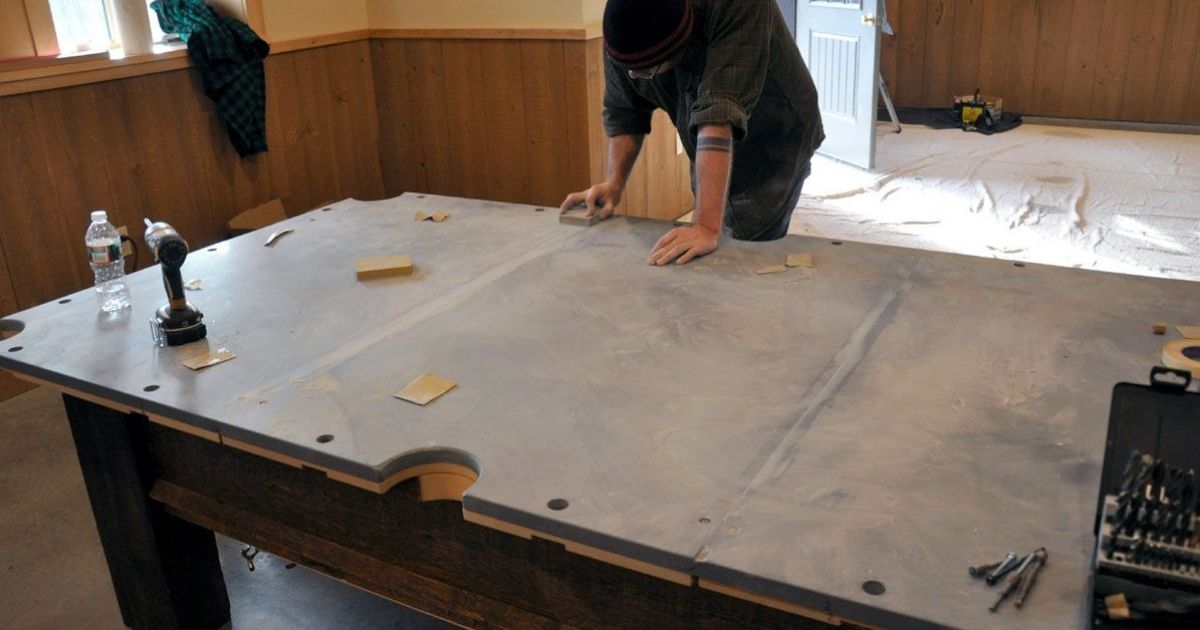
Securing the Slate
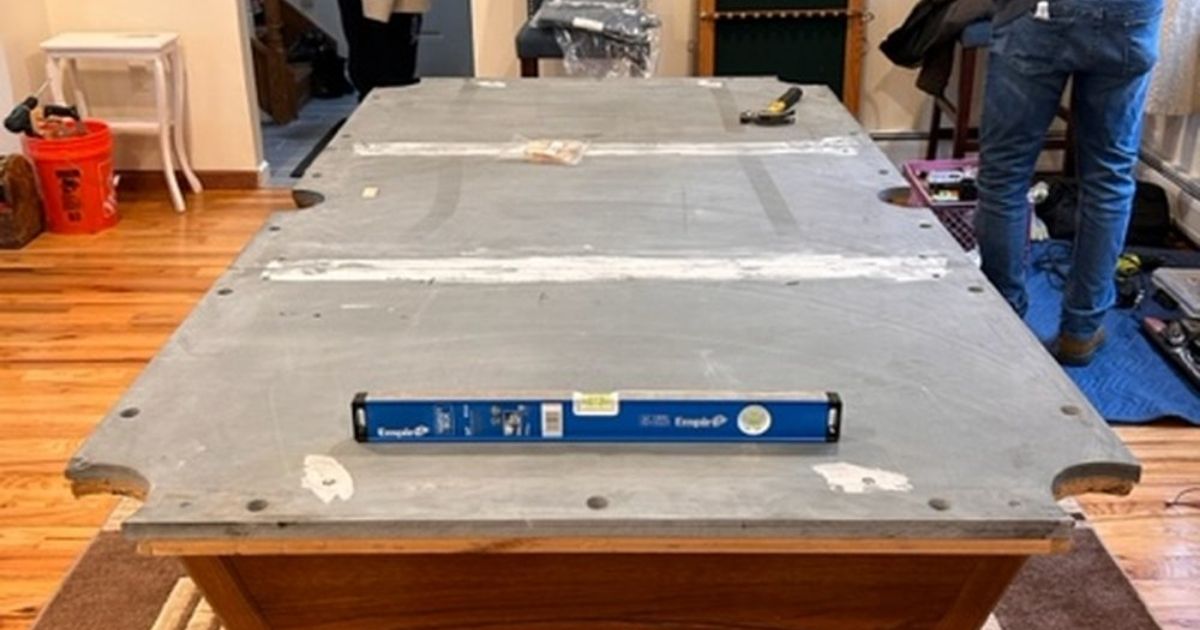
Leveling the slate to make sure it smooth
Before moving to the next step, ensure the slate is level and smooth.
If you have a single piece of slate, consider using beeswax or a similar substance to fill the gaps between slate pieces. Melt the wax into the joints with a blowtorch and let it dry overnight. Once dry, use a paint scraper to level the joints evenly.
Step 4: Felt Application
Choosing the Right Felt
When installing the felt, you can reuse the old or new felt as long as it is intact and smooth. If you want to choose a new felt, here are some advice for you:
- Woolen felt: It is durable and affordable for casual play .
- Worsted felt: It provides a smoother, faster surface for serious players.
- Blended felt: It offers a balance between durability and performance.
Consider factors such as durability, speed, and cost to find the best fit for your pool table.
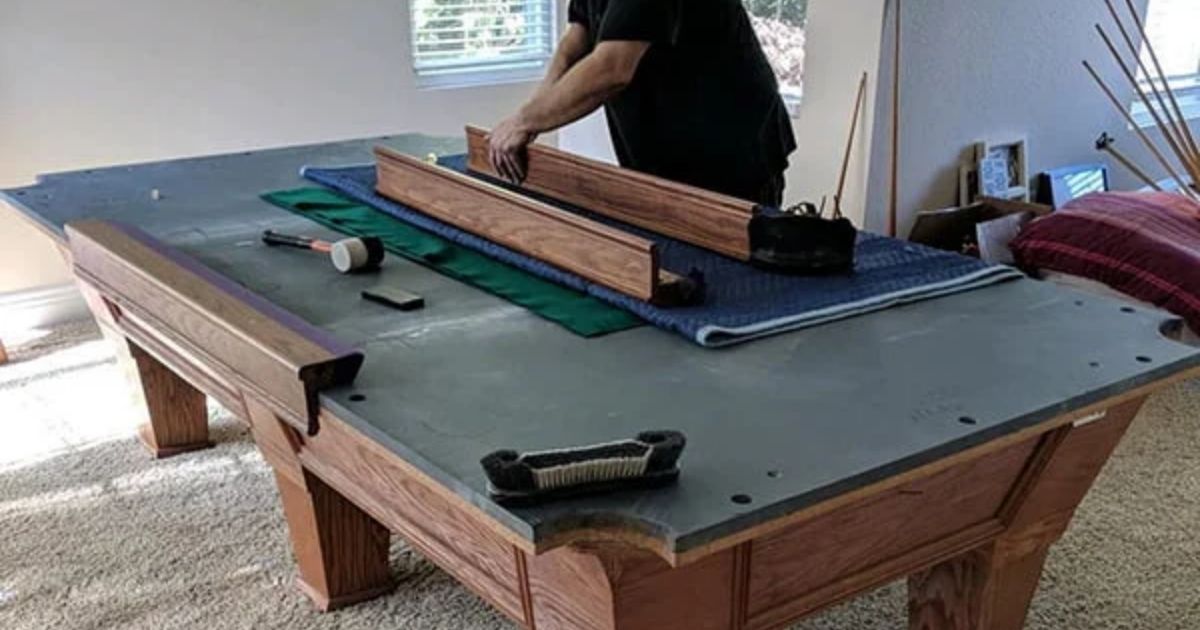
Stretching and Applying the Felt
Applying the felt on the table bed
- Prepare and Apply the Felt:
- If you saved your old felt, unfold it and align it on the slate.
- Before putting the felt, ensure it is fit to table size and free of rips.
- Place the felt to cover the slate and smooth it out.
- Use a clean fiber cloth to clean the slate for a smooth surface.
- Securing the Felt:
- Glued Method: Use pool table felt adhesive (like 3M Super 77 Glue). Spray the glue on the slate. Wait a few minutes between each section for the glue to set.
- Stapled Method: Use a staple to re-staple the felt in the same spots as before disassembling. Make sure the felt stays as smooth as you move.
Step 5: Installing Rails and Pockets
When learning how to set up a pool table, the next step is to attach the rails and pockets after placing the frame and felt.
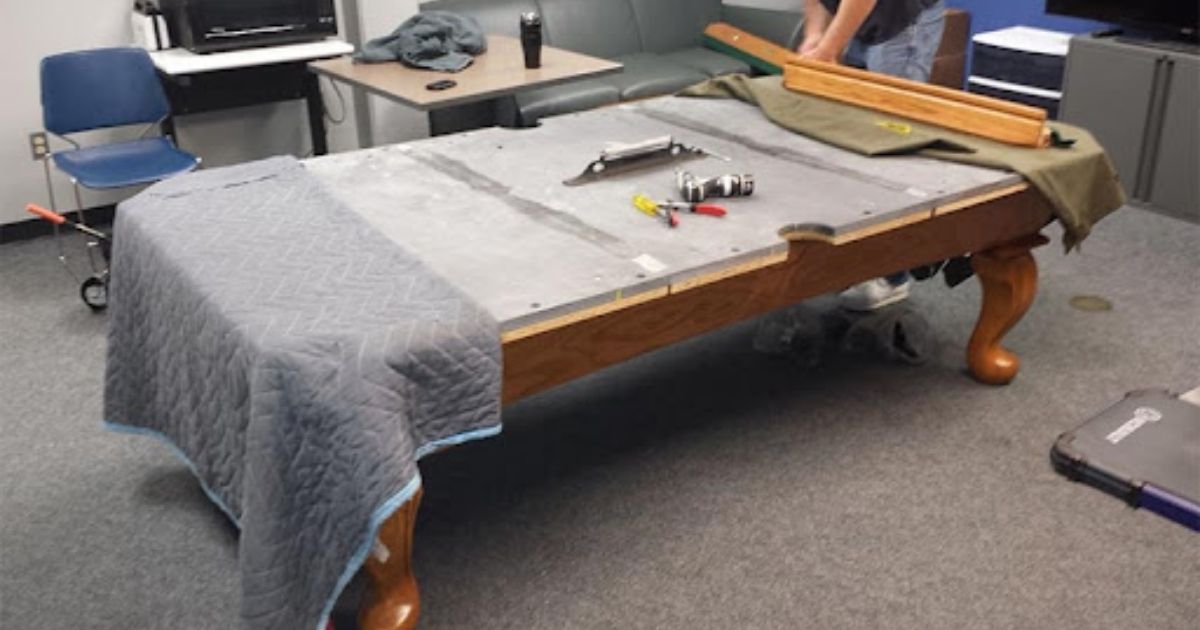
Attaching the Rails
Attach the rails alongside
- Position the rails onto the table bed and ensure they are correctly aligned.
- Use a power drill to attach the rails to the table bed using the appropriate fasteners (screws, bolts, etc.).
- Attach the rails to the corners and then work along the sides, spacing the fasteners evenly.
*Note: Before fastening them to the frame, ensure all six rails are level. The rails could already have felt covered if you purchase a pre-assembly product. Otherwise, they will require adhesive to secure them before attachment.
You may tighten all the screws and bolts and smooth off the edges with extra beeswax.
Installing the Pockets
Installing the pockets correctly along the rails
The following step is to place the pockets correctly along the rails. Each pocket should align with the corresponding pocket openings on the table bed.
Once you installed the rails and pockets, roll a ball across the table to test them. If the ball bounces or rolls unevenly, adjust the rails and pockets so it is straight.
Step 6: Final Adjustments
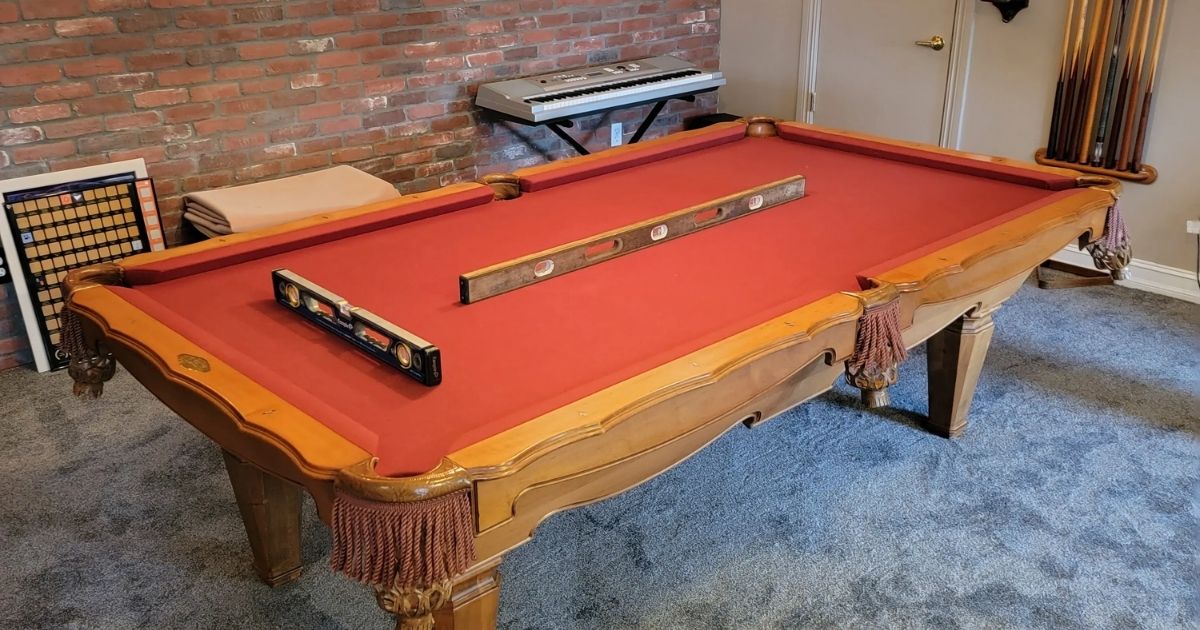
Adjusting and leveling again to make sure it perfect to play
Leveling and positioning your pool table is a crucial step when assembling it. The table should be in a location that can avoid direct sunlight, drafts, or obstacles that could affect its condition.
When doing pool table assembly, an uneven table affects gameplay and makes it hard to play. Leave enough room around the table (1.5-2 meters) without furniture or walls blocking.
Additionally, it’s best to use a level to check if the table level is better. Adjust the legs until they are a perfect fit. Then, adjust the pocket height to fit the ball size. Through it, you can finally succeed in how to assemble pool table.

Dave Pearson
Dave Pearson, the world's leading pool entertainer, is renowned globally as the ultimate exhibition player.
Boasting 20 world records endorsed by the prestigious Guinness Book of World Records, Dave established a legendary history in the sport industry.